

How to Create a Nudge™ Completion Message
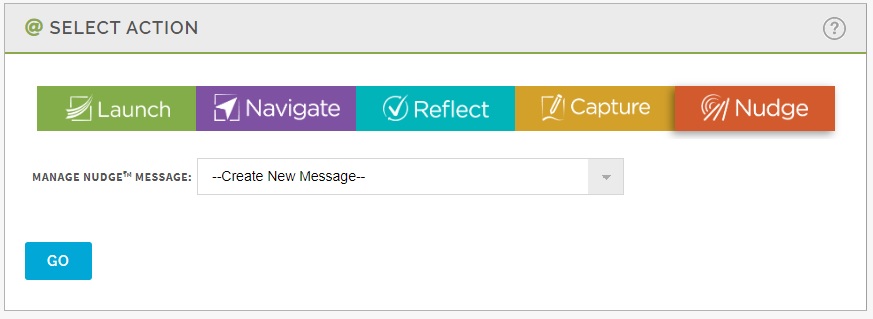
At the Select Action Screen in the Management Console click Nudge™. At the Manage Nudge Message dropdown, create a new message or use the dropdown to select an existing message to edit and select GO.
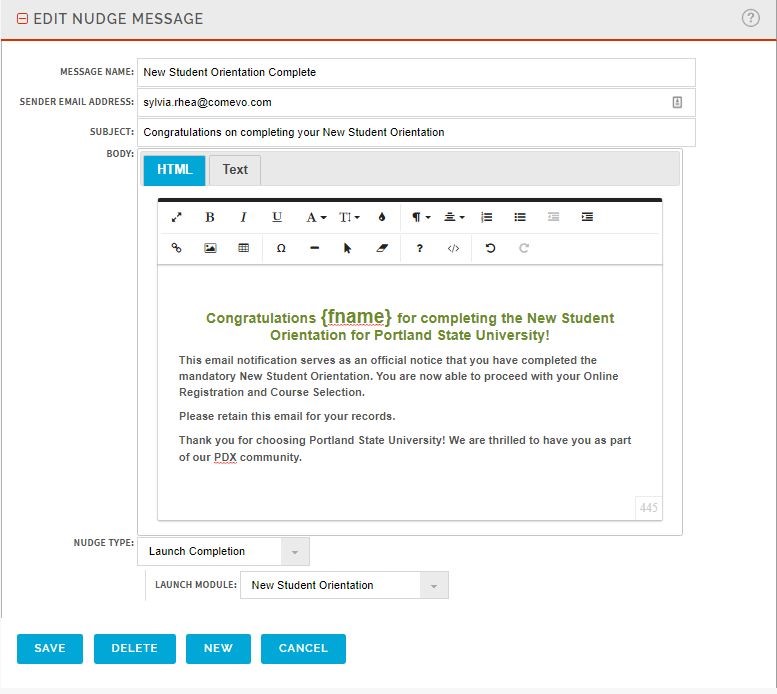
At the Edit Nudge™ Message screen you can Create or Edit an existing Nudge™ Automated Message.
- Use the Message Name field to name your Completion Message.
- Provide the Sender Email Address you have chosen for your Completion Message. (*Note – only one Sender can be assigned to this field. Anyone taking the Orientation can also respond to the sender. If you do not wish for the person receiving this message to respond, a message can be typed into the body of the email message indicting that the person should not respond to this email message.)
- Assign the Email a Subject such as “Congratulations on completing your New Student Orientation”.
- Create the Body of your message.
- Below the Body of your message you will choose the Nudge™ type: Launch Completion.
- Select the Launch Module that will use this Completion Message. Please note you can only assign one completion message per module.
Once you are satisfied with your Message you can Save the Completion Message. There is also an option to Delete the message or Cancel the changes. If you need to create a New message, you can do so at this screen by selecting New.
**After you have created your Completion Message and are ready to “Go Live” with Nudge™ please contact our Customer Care Department to acknowledge you are ready to begin using Nudge™. ***